Painting Kitchen Cabinets Easy DIY Steps for a Flawless Pro Finish
Do you want to improve your kitchen, but you do not have time for the whole process of remodeling and redesigning?
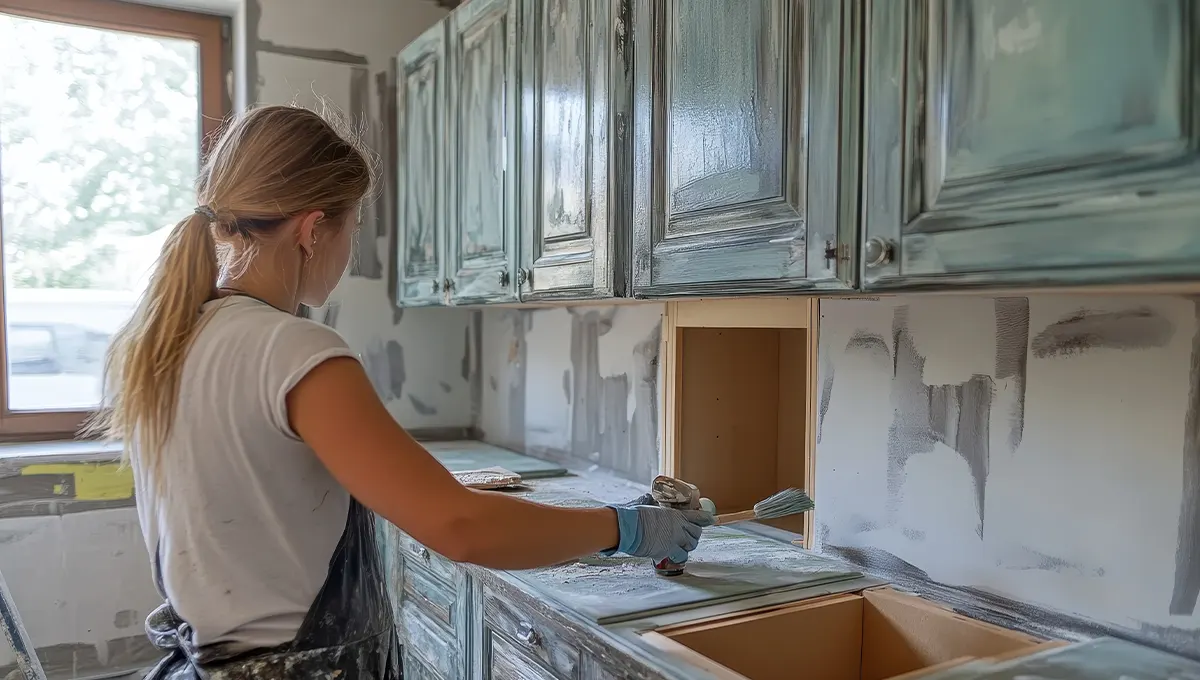
Then painting kitchen cabinets will definitely help you solve the issue! With proper planning, you will achieve a totally new look within just a couple of days without any demolishing at all.
What’s great about this process is that it does not require any special skills from you to create perfect and even professional looking cabinets. This manual gives detailed instructions with professional techniques and recommended tools that you should use.
Why Painting Kitchen Cabinets Is a Smart Way to Refurbish Your Kitchen
With your cabinets being stable structurally but looking out-of-date, paint can be a very effective solution for refurbished kitchen cabinets without the need for replacing them. You do not have to spend thousands of dollars replacing cabinets; you can achieve almost the same effect by repainting them.
Not only is this a cheaper solution than installing new cabinets, but it also takes less time. Your project will probably be finished within several days. It is for this reason that experts such as Joanna Gaines always recommend the use of paint in transforming spaces.
Apart from its cost-effective nature and speed, proper paint refreshes cabinets and makes your house look better.
Tools and Material for Panting Kitchen CabinetYou Need Before You Start
Before you begin painting kitchen cabinets, using the right tools and products is key to achieving a professional finish. High-quality materials improve durability, reduce brush marks, and make the process smoother.
Here are some widely trusted options used by professionals:
|
Category |
Product |
Purpose |
|
Cabinet Paint |
Durable, smooth finish ideal for cabinets |
|
|
Primer |
Ensures strong adhesion and stain blocking |
|
|
Brush |
Precision work on edges and corners |
|
|
Roller |
Smooth, streak-free finish |
Premium paints like Sherwin-Williams Emerald Urethane are known for creating a durable, smooth finish that resists wear and yellowing over time .
DIY Steps for Painting Kitchen Cabinets
This technique represents the best way to paint kitchen cabinets, utilizing the benefits of brushes and rollers in order to achieve the desired professional look.
Step 1 – Disassemble Cabinets and Prepare the Working Space

Begin with taking off all doors and hardware, numbering parts for simplicity of future assembly. Cover neighboring areas using plastic sheeting or other similar materials.
Step 2 – Thorough Cleaning and Degreasing

Since grease prevents proper adhesion, it is necessary to degrease and clean all surfaces, paying special attention to handles and areas around cooking equipment.
Step 3 – Light Sanding of Cabinet Surfaces

Lightly sand all surfaces of cabinets, creating a non-glossy surface which is necessary for the application of primer to refurbish kitchen cabinets.
Step 4 – Priming for Maximum Adherence

Prime the surfaces using a primer with high adherence properties such as Zinsser Bulls Eye 1-2-3 Primer.
Step 5 - Painting with a Brush and Roller Method

A good quality brush is used first such as Purdy Angular Trim Paint Brush for edges and corners. Then follow with a foam roller on flat areas. Make sure to apply thin and even coats, usually two to three coats.
Specialized paints like Benjamin Moore Advance Interior Paint have been formulated especially for cabinets.
Step 6 - Sand Between Coats

Light sanding between coats helps in achieving smoothness and getting rid of flaws. Be sure to clean up dust after each coat.
Step 7 - Final Coat, Drying and Assembly

Once the final coat is applied, let the paint dry before assembling. Remember that complete drying may take some time.
Special Considerations for Painting Laminate Cabinets
Whereas painting laminate cabinets is concerned, preparation becomes all the more important. The laminate is a smooth material and does not soak into paint as wood does, making it difficult for the paint to stick.
For this reason, it is important to use a good bonding primer, such as Zinsser Bulls Eye 1-2-3 Primer. Even light sanding will be helpful to create some surface for the paint to adhere.
If proper preparation isn't done, the paint will begin to flake off. That is why professionals stress on the importance of using primer on laminate cabinets.
Using the correct technique, even the laminate cabinets can give you an attractive result.
Common Mistakes to Avoid When Painting Kitchen Cabinets
Even minor mistakes may have consequences on your final outcome. Some examples of typical mistakes you should avoid include:
- Skipping out on cleaning and preparing the area
- Using thick layers rather than thin ones
- Allowing insufficient drying time
- Utilizing poor quality paint or painting tools
Kitchen cabinet painting requires a lot of patience and meticulousness. Professionals such as Bob Vila always stress that preparation is key to success.
How Long Does It Take to Paint Kitchen Cabinets?
The typical painting project for cabinets takes from 2 to 5 days. Preparation itself may take a whole day, followed by painting and drying. Variables such as moisture and air flow play a role in drying time. It is best not to be impatient and give each coat adequate time to dry.
Pro Tips for a Smooth, Long-Lasting Finish
To get a professional-looking outcome, always be consistent and patient. Make sure to apply the paint in thin layers and give it the time to dry before applying another layer. Using high-quality paints, such as Benjamin Moore Advance Interior Paint, will ensure the best possible outcome.
Make sure that the area is well-ventilated; otherwise, the paint won't cure properly and will have an uneven texture. Sanding the paint after applying each coat could also contribute to the overall evenness.
Most importantly, don't be in a hurry and give the paint enough time to cure.
Conclusion
The process of painting kitchen cabinets may be among the most dramatic renovations possible without undertaking a complete overhaul. Provided you have the appropriate equipment, reliable products, and a trusted procedure, you will soon find yourself with an outcome that looks sleek, contemporary, and durable. This is more than simply cutting costs; it is making your kitchen look fresh and custom tailored.
Should you have been thinking of taking on this challenge, it would behoove you to take action today. You already have all the elements required in place; you simply need to move forward. Your dream kitchen awaits.
FAQs
- Can I just paint over my kitchen cabinets?
You can, but proper cleaning, sanding, and priming are essential to ensure paint adheres well and doesn’t peel over time. - What I wish I knew before painting cabinets?
Preparation takes more time than painting, and skipping cleaning or sanding can lead to poor finish, peeling paint, and uneven results. - What is the best method to paint kitchen cabinets?
The best method uses cleaning, sanding, priming, then applying thin paint coats with a brush for edges and roller for surfaces. - What is the downside of painting kitchen cabinets?
Painting cabinets takes time, requires patience, and may chip or wear over time if preparation, materials, or application are not done properly.